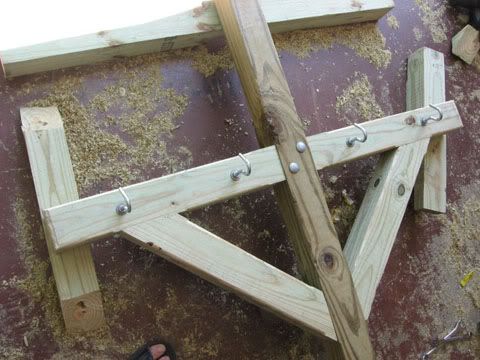
Let's put those aside and take step out into the sweltering Texas sun. Weee...ugh.
Lately, we have been getting quite a bit of rain, so rather than like last summer when the average temp was in the billions, it's only in the millions this year. Never the less, it's still been a sweat fest.
I have been averaging about 2 shirts a day. That's two shirts completely soaked through with sweat. I'm not talking, "Oh look at my pits, they are all darkened with sweat; I can't go out in public like this!" No, I'm talking more like it appears as if I just jumped into a hot sweaty smelly pool, got out, then continued working without the benefit of cooling off. Nice image, huh?
So you ask, "But suburban man, why don't you do the manly thing and work shirtless?" Because suburban man suffers from what my brother used to call, "soap skin". Lily, easy to burn, neon bleach white skin. If I didn't have the tanned arms, I could rent myself out as the undead. But having the tanned arms only makes the contrast worse. When I take off my shirt, it's like ripping the wrapper off a signal flare, "Put your shirt back on!!!! I'm blinded!!"
So I keep my shirt on. My days of being a sun worshiper ended many years ago. I'm now a skin cancer free worshiper. :)
ANYWAY...
First, get one of these...

Post hole digger. Check.
I measured out from the fence as to where to dig the holes. Check.
Then I measured the distance between them. Check.
Then I dug. Check.
All proud of myself, after digging 2 1/2 feet down...
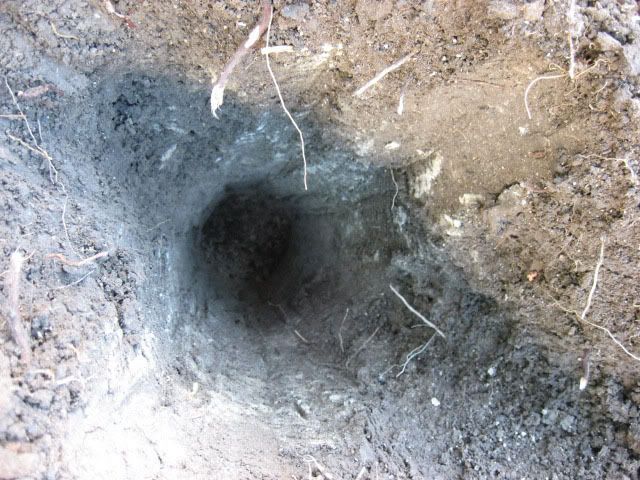
Twice. Double check.
I went to bed happy.
The next day, I had to water my plants. And as you can see from the post hole digger photo, the monster water tanks are right next to the holes.
Looking at the holes, all full of myself, admiring my handy work, I paused. Hmmm, something doesn't look right.
I thought to myself, "hmmm, deep holes, not line up". It couldn't be. I freaking measured the dang things...TWICE!!!
I drop my watering can, sprint inside, get a tape measure and sprint back outside.
Now, I'm my own worst critic. When ever I do any sort of project around the house, I go through a stage of self abuse. I want it to be perfect. I want no mistakes. I want it to shine as the best thing on the earth. I want people to look at it and say, "My god, you missed your calling; you should do this for a living and bestow your gift to the world!!". So as a result, I basically enter into constant self loathing swearfest when I think there is a problem.
So, while I'm sprinting back and forth to get the tape measure, the world slows down, I can't get the tape measure fast enough and I can't check for the possible mistake soon enough. So my mental process on the outside appears like this...
"!#$!#$%#%@!!!! I measured the @#$!#$ thing twice!!! @#$#$#@$ measuring tape must be WRONG!!!"
While, to me its more like...
"whyyyyyyy isssssssn't myyyy feeeeeeeeat mooooooving faaaaaasterrrrrr!!! Muuuuuust geeeeeeet taaaaaaaaaaaape meeeeeeeasurrrrrrrrrrrre!!!!"
I set out the tape measure for the first hole. Correct distance. I then turn my head to the right to check the second hole, which is about 12 feet from me. I. Can. Tell. It's. Off!!!! UGHHHHHHHHH!!!!!!!!!!!!
To quote Nancy Kerrigan from the 1994 winter olympics just after she got hit in the knee by Jeff Gillooly, "WHYYYYYYYYYYYYYYYY!!!!!!!!!!!"
Well, neither am I an Olympic athlete nor was my knee at stake, but the anguish was similar...well, maybe not.
However, I could have crushed bricks with my hands, I was so PO'd.
When this happens, I get of this single mind, somewhat Hulk-like, "Get out way, me must dig or kill!!!"
I filled in the hole then dug the replacement. All the while, sweating off all my unsightly weight in the blazing sun.
So, now the second hole is dug, D*MN IT! I taught that freaking hole a lesson!!! Mess with me will you!!! No stinking hole will laugh at me!!! Hmmm, that last part was a little weird.
Breath in...breath out...
I needed to relax. I needed to kick back a little. What I needed was a drink!
Nothing better than after sweating out your brains on a hot summer day than kicking back with a nice cool Gin and Tonic!
If you really want to learn the proper way to make the perfect Gin and Tonic, I highly suggest you read the book, "Cosmopolitan: A Bartender's Life", by Toby Cecchini.
The next day, I was of better mind and wanted to finish this thing. Or do quote from the movie "Tropic Thunder", "Let's do this!"
First step, make the concrete forms.
I ripped 8 2" piece of 1/4" wood into 1 1/2 foot lengths. Then shot them together with my brad gun...
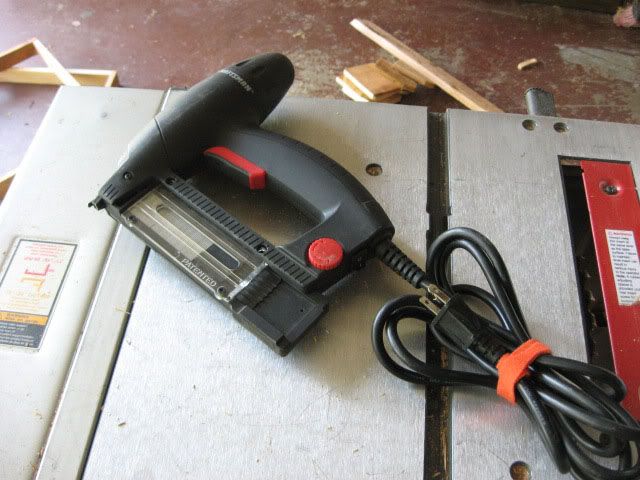
Here is the end...
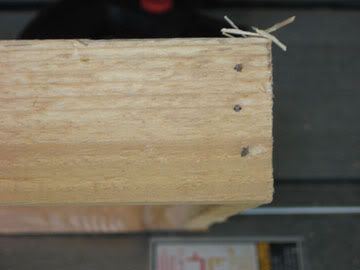
And the finished product..
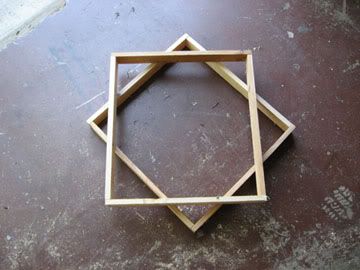
This time I made sure of the placement and measurements.
At first I was going to anchor them with little stakes, but then I thought, dirt will do just fine. I just backfilled against the forms.
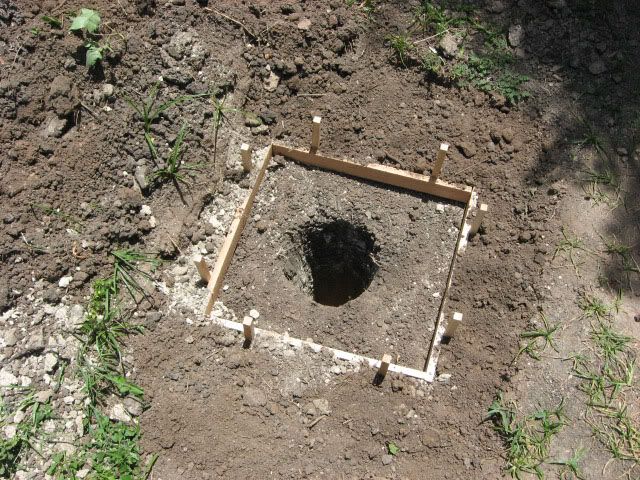
Remember I had to do everything twice.
Then I placed in the posts.

And put in the supports....
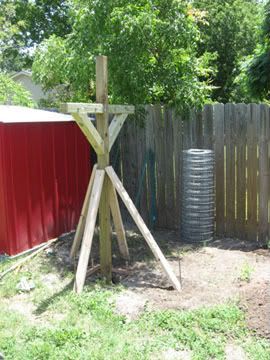
which I anchored with nails on the post and rebar in the ground...
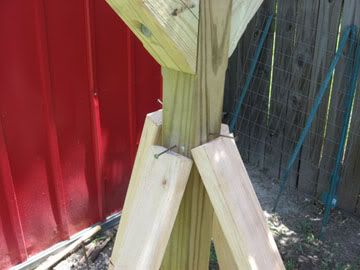
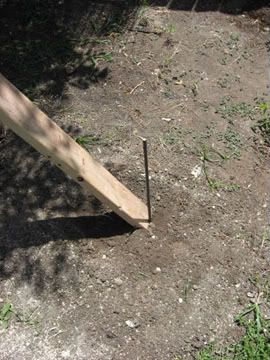
Everything was ready now for the concrete. Or in my case: Quikrete.
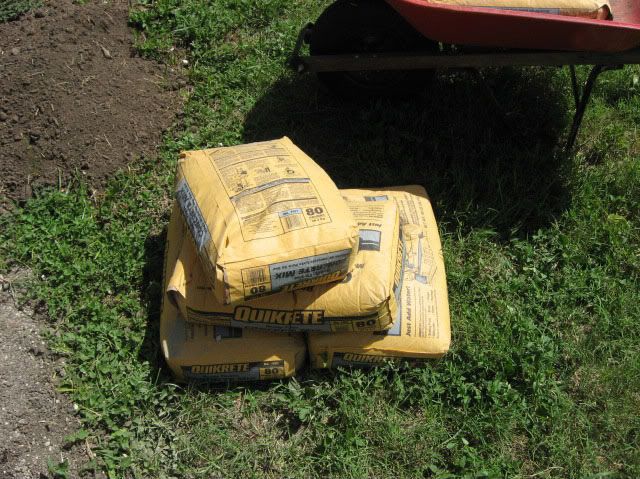
I over bought a little, but in the near future I have to move my fence so I will need some for the new fence posts.
Here it is dry...
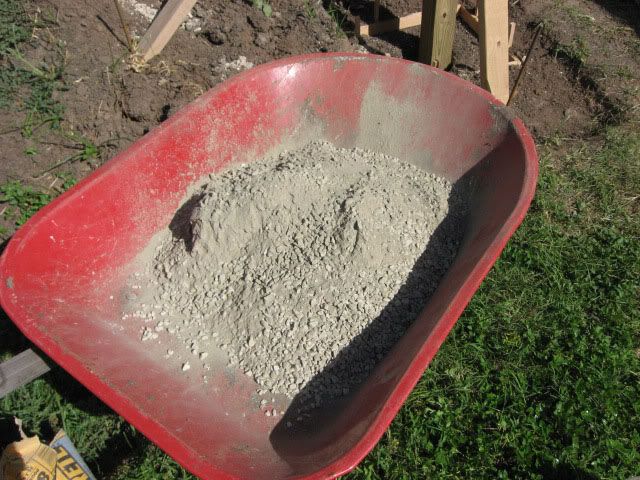
And the wet...
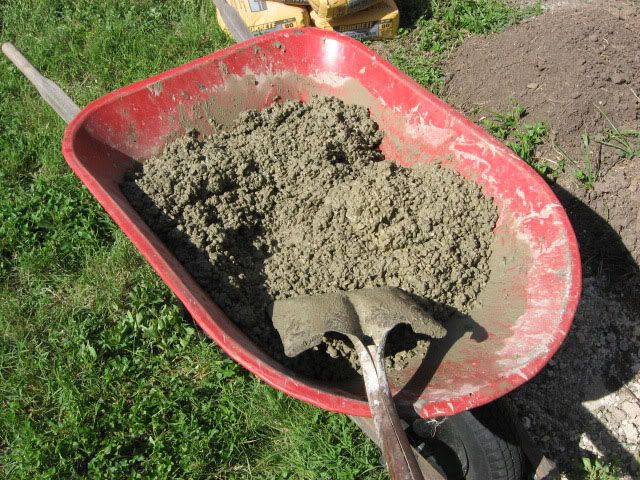
Harking back to my childhood, which seemed to be filled with various instances of concrete and cement events, I remember that my dad would tell me, "you want the consistancy to be like peanut butter". I never looked at PB&J sandwiches the same way ever again.
But he was right. Not too soupy, not too dry. You want to be able to pick it up and make it into a wet ball that doesn't crumble apart.
And if all else fails, just follow the directions on the outside of the bag. ;)
I would have loved to take a picture of the process of filling the holes, however, I was doing this by myself so it's a bit tough to take pictures with Quickrete encrusted hands.
Just use your imagination.
So with holes filled, I now had to wait 24 hours for it to be completely dry.
The next day, with the concrete all dry, it was time to rig the lines.
I got a 100 foot run of cotton clothesline and these little babies...
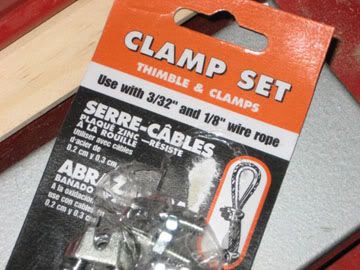
Here's what they look like installed...

Rather than tying a knot, because knots fray, the little metal loop takes the wear and tear off the line itself. Plus, as the line slackens, which cotton line always does, it takes very little effort to cinch them back up with these clamps.
So with the lines installed, let's see if it matches my original 3D concept.
3D
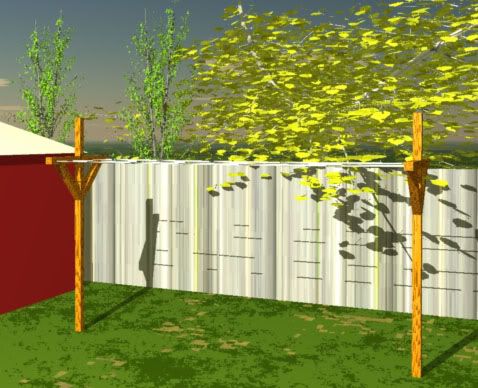
Real McCoy...

Not too bad, if I say so myself.
This whole ordeal was a lengthy, pricey ordeal. Would I ever do it again? I don't have to, I did it once. LOL Yeah, I would. Would I do anything differently? Actually, no. It matched exactly what I planned and designed.
The question now is: will it last? Only time will tell.
This whole thing took place, all together, about 2 weekends. Without the various screw ups, probably 1 1/2 weekends.
Cost: about 150 bucks all said and done. The wood was by and far the biggest expense.
Difficulty level: (on a scale from one to insane) I would say this was merely insane level. You need fairly good grasp of wood working skills. Need a basic knowledge of working with concrete and know how to plumb a vertical object. It's hot and heavy work. (I think I drank in the area of about 10 - 12 gallons of fluids during this whole ordeal). And I probably sweat off about 5 to 10 pounds of unsightly weight. :)
This is a very do-able project, but make sure you plan plan plan. First figure out what you want, then find a spot and finally, make it happen. :)
Well there is it. A clotheline. This is the last one on the list of my insane backyard projects that I had when I first started writing about this stuff way back when.
And no, this doesn't mean that this is the end of the blog. There is so much more to come. Look at everything up to this point as Backyard1.0 Next will be Backyard 2.0
The basics are done. Now I can start creating things that will add to the aesthetics and beauty of the yard.
What's next? Oh, so much more misery. LOL I have to chisel out our side walk that runs along the side of our garage. Construct two arbors. Put up two fences. Plus a host of other little things along the way.
I'm going to be playing around with the format of this blog and I will also be making a valiant effort at updating this crazy thing on a weekly basis. Probably Sundays or Mondays, not sure yet.
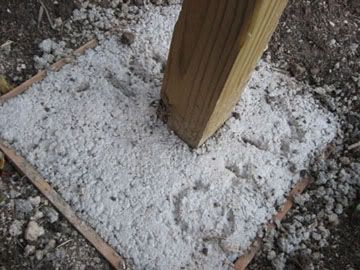
With that said, I leave you with the last photo from this little endevour.
Y'all take care and always remember: Green is Good.
Cheers!!!
'10 C + W
3 comments:
It is remarkable how you are literally able to reproduce something in your head. Thanks for sharing and providing so many laughs.
I have been wanting you to come visit the next time Con comes up and I promise I will do everything in my power to not have you working. The problem is that there is soooo much to do here that I am not sure you would be able to restrain yourself. LOL.
great job! Bonnie :)
Beautiful job!! Plus, the post was hilarious :)
Post a Comment