Oh, Oh, HUH?
Mind you when I took the above photo with my crappy little phone, it was Sept 29th!!!
It wasn't even freakin' October yet!!!!!
Sigh. Soon we will be seeing X-Mass decorations on sale after the 4th of July.
Anyway, Part two of my little rain barrel ordeal.
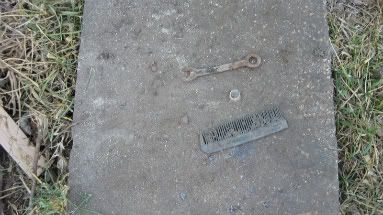
Oh one other thing before I forget, when last I left you, I dug the hole and put in the blocks, while doing this I came across a little urban archeology...
A comb? whatever...
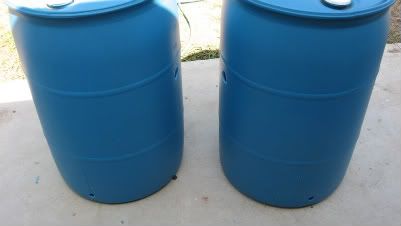
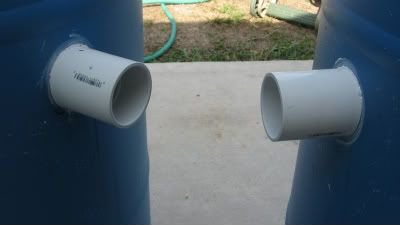
Okay, as you can see, I cut half moon openings into the tops of the barrels. I did this with a ZawSaw, using the metal blade. I first drilled a few large holes to allow the blade to pass through. It proved to be surprisingly easy. Took all of 10 minute for both.
They look kind of happy, don't they? Okay, that was very green geeky.
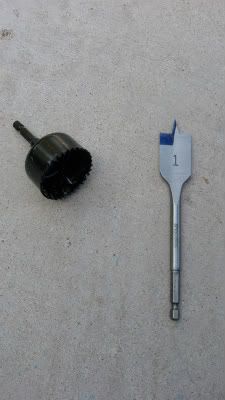
Bits I used...
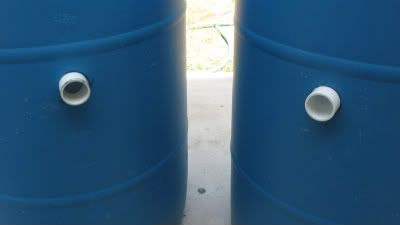
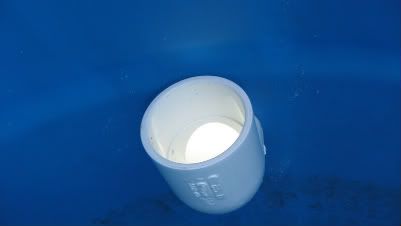
Next, using 1 3/4" corer, I cut the over flow and pass through holes on each barrel.
here's a better pic
next I cut 1" hole near the bottom for the 3/4" pvc pipe. I used a 1" paddle drill bit.
Next, you need a short piece of 1 1/2" pvc , 1 coupler and a street elbow. I put the little piece of pvc in the hole...
and glued the coupler on one side...
and glued the street elbow on the other... Pushing them tightly together.
pointing up on the main barrel side and...
pointing down on the reserve barrel side.
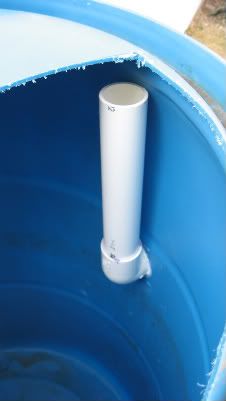
Here is the completed PVC pipe on the main barrel.
It's pointed up so as when the barrel is full, the water once it has sort it's level will then drain into the backup barrel.
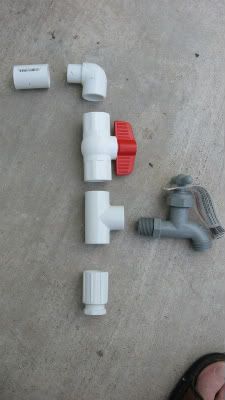
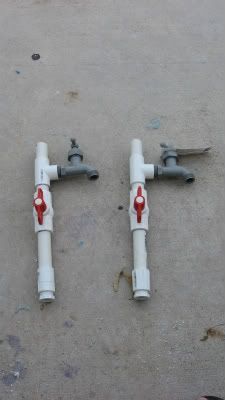
I next put together my system for the spigot and trash drain. it looks something like this...
However, this is how the final looks...
Note that the cut off is below the spigot. This is so no trash from the roof, bugs, bird poop, etc will spill off with the water, instead it will settle below the spigot. I put the shut off below the spigot as well so this way I won't lose any water. I can cut it off and still use the water while cleaning the trash trap. I did this because I plan to put in a drip system for my garden. No interruption of watering.
Much like the 1 1/2" pvc above I fit the 3/4" pvc in the bottom in the same manner. only this time, I just used an elbow street valve straight into the hole with a coupler on the other side. I used no additional short pieces of 3/4" pvc, just what you see.
Once everything was fitted and glued, I sealed everything with silicon sealant. No leaks yet :)
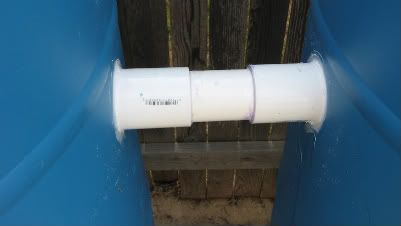
I now placed everything on a two high stack of 8" cinder block. Then joined the two barrels together...
This is the overflow go between.
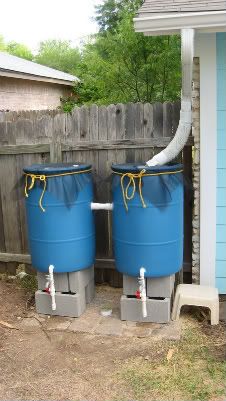
Here's a wide shot of everything together...
I got some vinyl screen and had some old rope laying around. I have since replaced the rope with webbing that I bought over at REI.
All told, the whole set up cost me roughly 150.00, that includes lots of mistakes, cuts, and copious amounts of swearing.
I plan on adding more barrels to this set up but putting in an additional overflow to the back up barrel.
So far so good, no leaks. ;)
Next project will be a little side deal. Small herb gardens for my wife. Made from galvanized tubs.
Cheers!!!