Now that we are all caught up, I had to come up with a visual for my very Significant Other. She works better that way. So I whipped out my 3D program and threw this together.
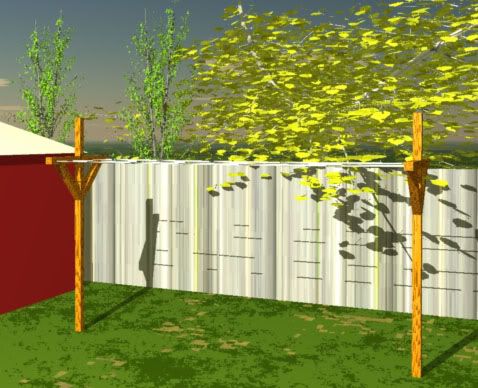
That's what I was aiming for; let's see if I turned the magic of 3D tech into reality, shall we? (at least with my 3D, you don't need any funky glasses...or blue people)
And away we go!
With this idea floating around in my head, I first began googling to see if some other fool attempted something like this. One would think that, "sure, there have to be plenty of do-it-your selfers out there putting together clotheslines", right?
Wrong.
There were all sorts of clotheslines made from metal and a few attempts at wood, but all were, shall we say, lame. Let me say that again, LAME!
I COULD have made it from metal; I COULD have made it into a straight "T" type post, but each and everyone I saw, either looked cheap or like they would fall over in a mild breeze.
So, sticking to my cold war era birth mentality, I was going to make mine, not only from scratch, but to survive a direct nuclear strike! Or a handily lobbed water balloon.
Off to Home Desperate I went!
First the lumber. I first wanted to use 6X6 cedar posts, but after I saw the price and felt the weight of those monstrosities, I thought, "Hmm, 4X4's will do just fine". After all, I'm only wanting to build a clothesline, not a bunker. Right? RIGHT?
Here's the check list:
(2) 10' 4x4's cedar posts
(3) 8' 4x4's cedar posts
(2) 10"x3/8" galvanized nuts and bolts
(4) 8"x3/8 galvanized nuts and bolts
(4) 6"x3/8" galvanized nuts and bolts.
And a smattering of galvanized washers to go along.
With wood, nuts and bolts in hand...hmm, that's sounds a little obscene...I rocketed home.
Since my very SO is of the vertically challenged variety, the lines themselves had to be at a height where she could, you know, reach them. We decided that the lines should be about 5 1/2 feet off the ground.
Figuring the height plus the depth by which I have to sink these bad boys and how much I want to have for the top post, 2 1/2 feet down should work swimmingly.
So 5 1/2 feet + 2 1/2 feet = 8 feet. That would leave a 2 foot peak. Should look rather nice. :)
So with all the measuring done, it's now time to make them.
First the notches.
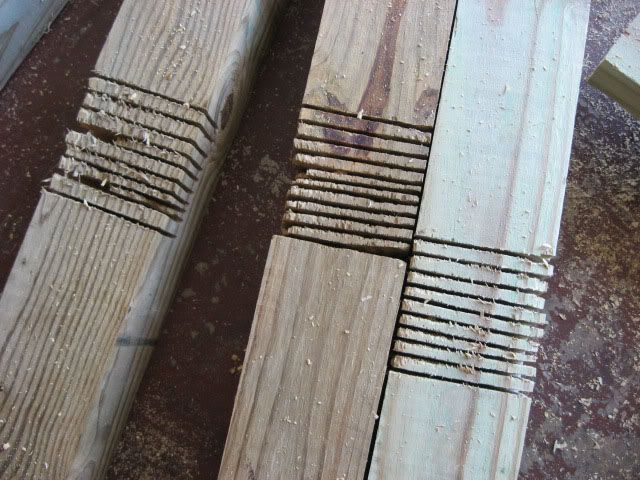
I ripped these with a skill saw, since I don't have a huge table saw or a dado blade. Sorry, John (My friend John, he's an amazing carpenter. He and I had, just a week before, a short chat about the dangers of using a skill saw for anything at all.) I like to live on the edge. Heck, why were we given 10 fingers if we were meant to keep them all, right?
Next on to the chiseling.
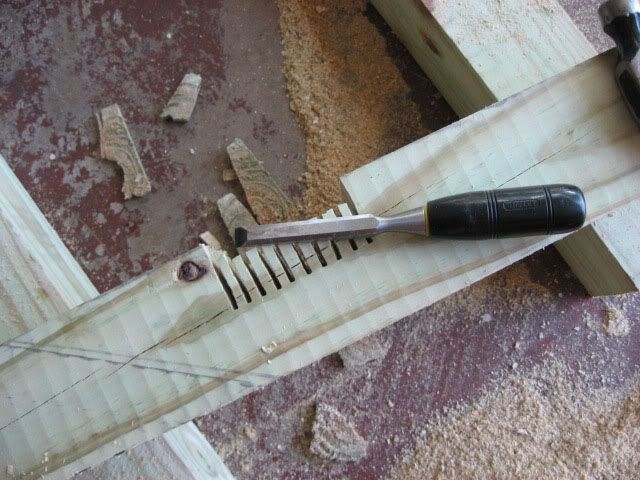
Not knowing any other way to clear out the notches, I did it the old fashion way. Hammer and chisel.
With that done, I needed to make up the cross bars.
I took one of the 8 foot 4x4's and cut it in half. Measured to the middle, then out from the middle, 1 3/4 inches on either side (4x4's aren't exactly 4x4. Always measure twice and cut once, as the old saying goes), set my marks, ripped and chiseled.
Here's what it looked like fitted together...
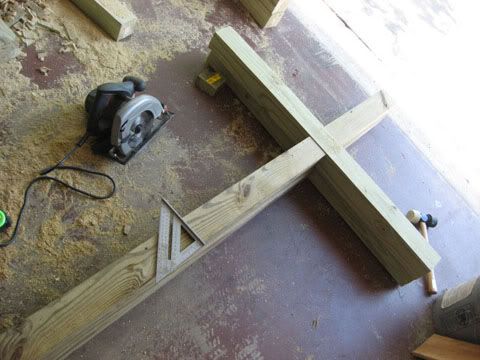
At this point, I was hoping no Jehovah's Witnesses wandered by.
I can only imagine that conversation.
Them: Building crosses are we?
Me: um, what? oh no, heh heh, just a clothesline.
Them: Well, you know someone died on a cross for you sins...
Me: I'm sorry to hear that, but I'm only hoping to brighten some sheets!
Anyway...
Next, the supports.
Cutting the other two 8 foot 4x4's in half, then putting a 45 degree angle on each end...
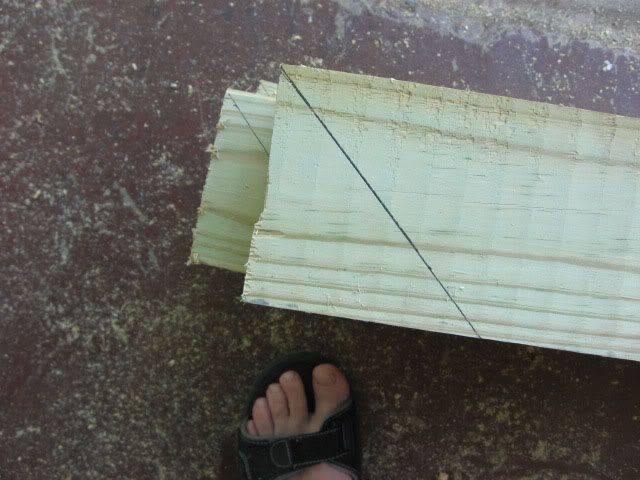
(thank you Mr. Toes)
I hacked them off! No, not the toes!
And fit the whole mess together.
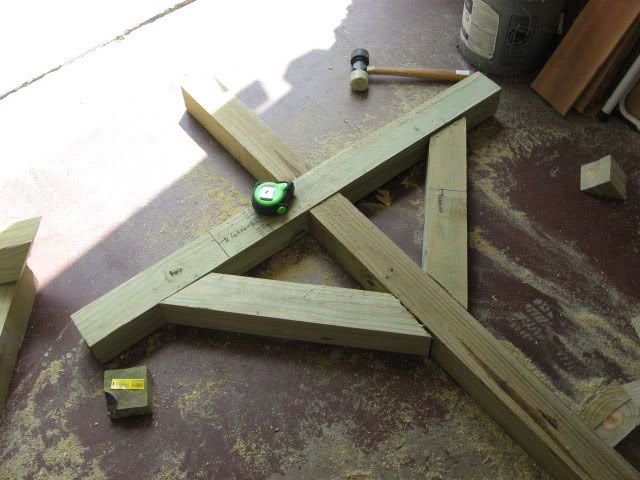
Not too shabby, huh?
Putting the bolts through the cross was a breeze, but through the angled supports, proved to be, oh how shall I say this, freaking dangerous. LOL
The hole drilling part wasn't a problem, it was the part of flaring out the holes so a nut could fit on the end of the bolt.
In the end, I wound up using a 1 1/2" one of these...
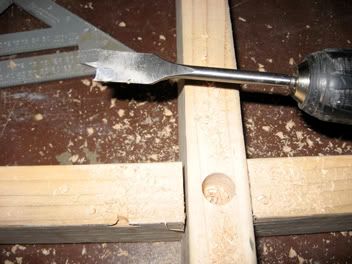
(a flash back photo from when I made the stand for my composter).
Holes drilled, ends flared out, this is the result...
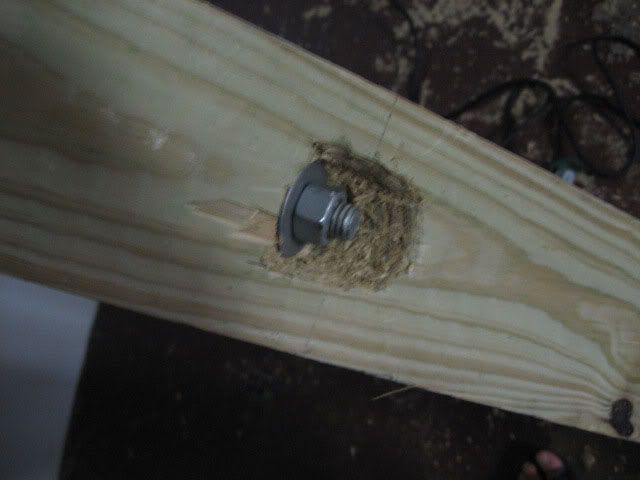
This was a harrowing ordeal, which I never ever hope to repeat again in this life- time. I truly welcome any better suggestions from my whole readership of 5 1/2 people.
Now with all the "construction type holes" drilled and everything bolted together...
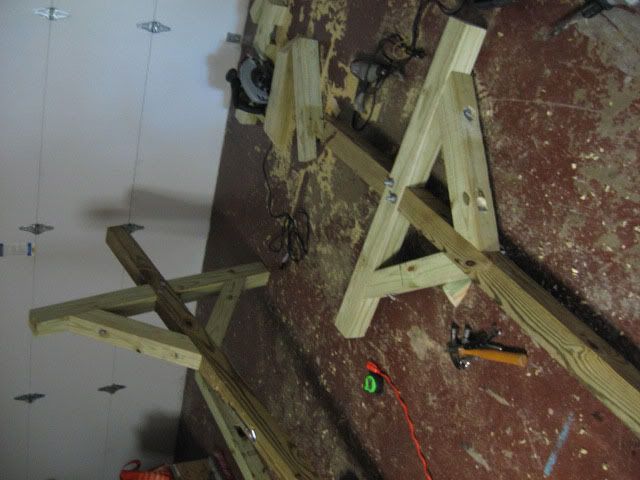
I needed to put in the hooks for the clothesline...
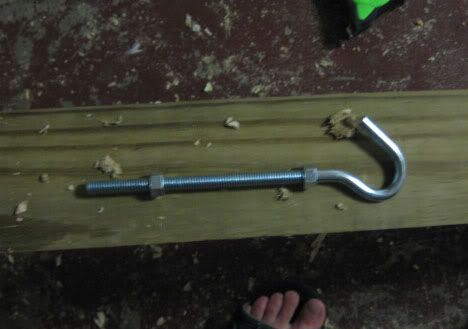
(Mr. Toes make another guest appearance)
(8) 8"x 3/8" hooks. Why 8 inches? Because the 6 inch versions didn't have enough thread on them. A real design pain.
So drill, drill, drill, etc, washer, washer, washer, etc, bolt, bolt, bolt, etc...
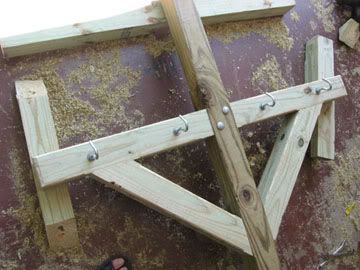
So now they were ready. Mind you I had to do all this mess to two of these dealies.
Oh, how did I figure out how to space them? Frankly, I just sort of winged it. I just spaced them evenly apart enough to when a wind blows, and if there happens to be sheets on the line, they won't really get into each others stuff.
Well, that's enough for tonight.
Next up: Part 3! Insane sweat-a-thon! Wee...
But before I go, I will leave you with a few pics of things from our garden!
And remember, as always, say it with me now! Green is Good!
Cheers!

Curly...

Mutant

Monster
2 comments:
Once again, I am amazed at your construction capability. I've made crossbars, hammered and chiselled out notches for stretchers, so I feel your pain. Yours came out beautifully! It's a good thing that mine are on the back of a canvas and out of sight. I'd love to see a picture the finished clothesline standing in your yard -- but I did love your surreal graphic -- and also Mr. Toes LOL.
You have no idea how much I am enjoying your posts. I LOVED your thoughts about the 6X6 posts and then the "conversation" with the J.W. Too funny. I've said it before and I will say it again.... I would love to be there helping you with this stuff. You have mad skills and I could be learning from you! You kick butt Will. Con must be thrilled.
Post a Comment