Well, then. That was odd.
ANYwho. Where was I? All that groveling got me off track.
Oh yeah, bees.
Well the fence is done. Blog post over.
Oh? You want the second part? Alright! So demanding.
You know what's really weird? I'm having this conversation at my computer as if you all are really talking to me. Freaky. I better check my meds.
Okay, when last I left you I showed you an awesome Harry James video and how to sink a post. Kind of an odd combo, huh?
Now this...

Then this...

And this...
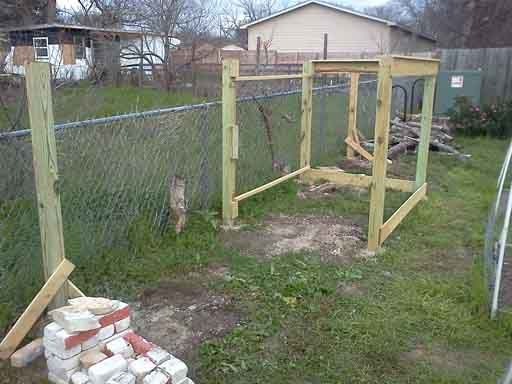
And a sexier shot...

Okay the basic frame was now finished.
I now had to make the gate. Weeee...
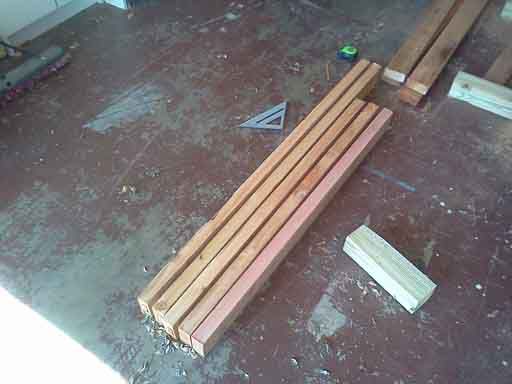
Pretty straight forward. Two long pieces of cedar for the sides and 3 for the cross sections. (once again, I threw caution to the wind and sort of made this up as I went along.) I got my measurements for the size of the gate via the width and height of the opening to the bee "enclosure".
Much like how I built my now infamous clothesline, I created some "lap" joints for the gate as well.
Before...
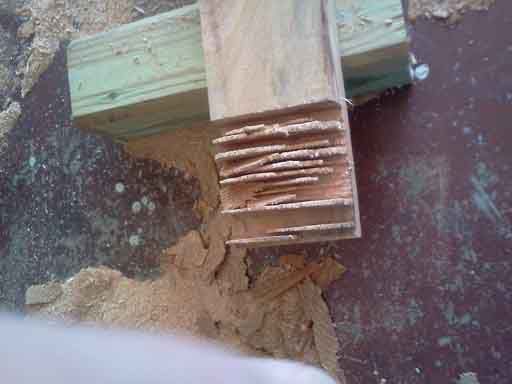
After...
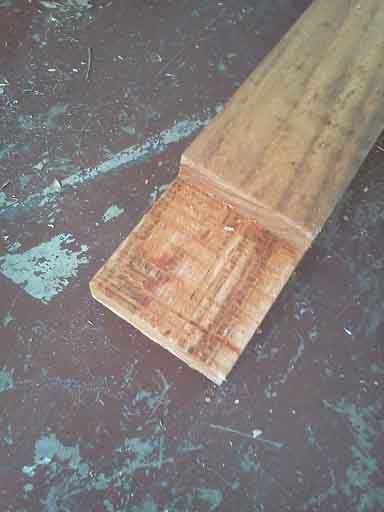
And here is the gate all fitted together... (like the dramatic lighting?)
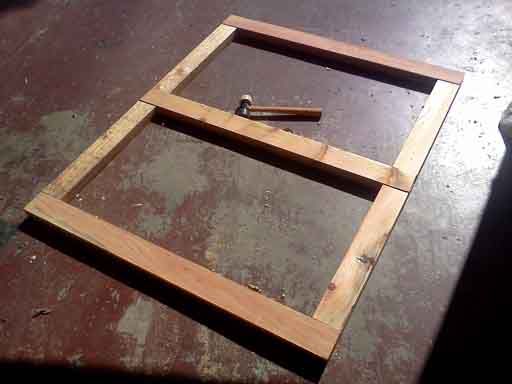
That evening I glued and screwed the joints together.
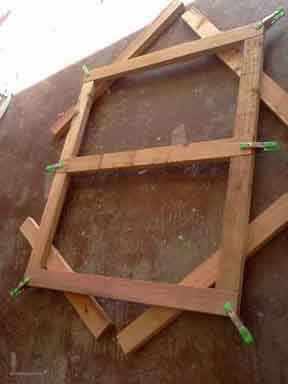
(sorry for the miss-formating of this photo. for whatever reason Photobucket just doesn't like it. I've resized and rotated it several times and it still shows up over sized and on it's side. Hmmm, there's a joke in there somewhere. UPDATE: it appears as if it reoriented itself but now shrunk the photo! fine. it works).
The next day, on went the hardware and it was time for mounting.
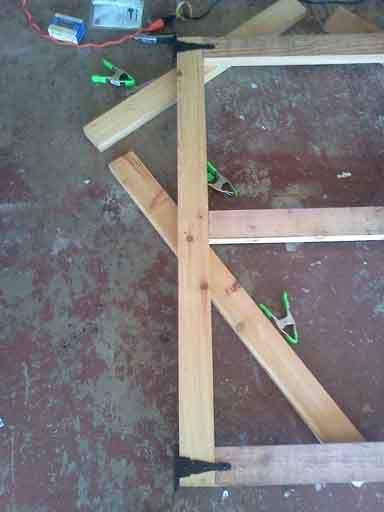
Here are the hinges...
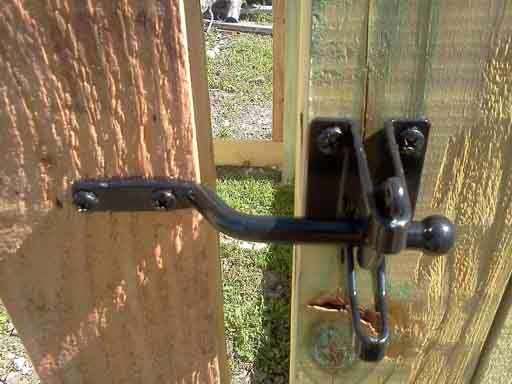
Here is the latch...
And the completed gate...
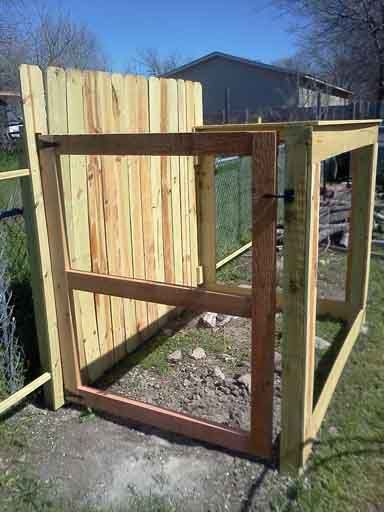
Not too bad if I say so myself. As you can see I put up the fence pickets as well.
But this is certainly not the end of the bee, fence, gate saga. Oh, yes, there is so much more. I know you are all on the edge of your seats! Look, I have to lie to myself to keep my spirits up, okay? So just humor me. I will believe that you can't wait for my next post and you just smile and nod and give me the half sane look of, "oh sure, we can't contain ourselves", before rolling your eyes. Deal?
So next week...can you guess? Part 3! I don't think anyone could have anticipated that! ;)
In the mean time, here are some fresh photos for your viewing pleasures.
Squash...(I know this is similar to a photo I posted last week, but I just love the color)
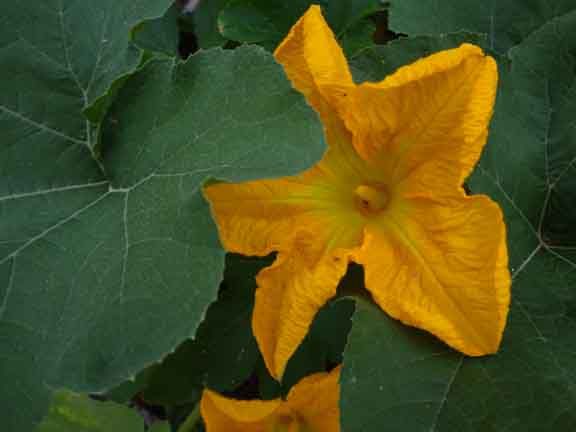
Colorful...

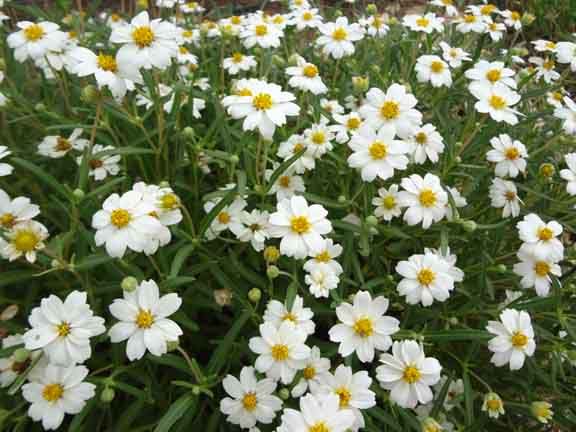
Daisies...
Eggplant...
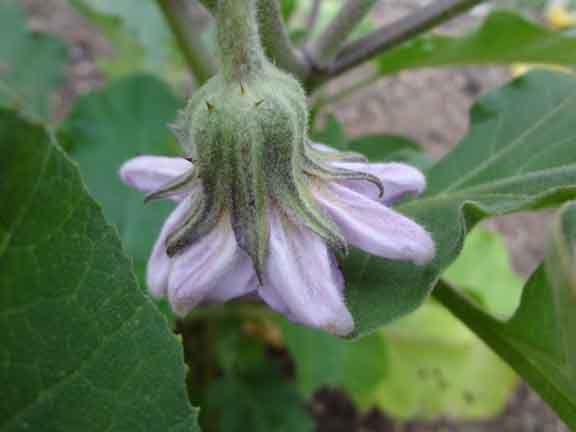
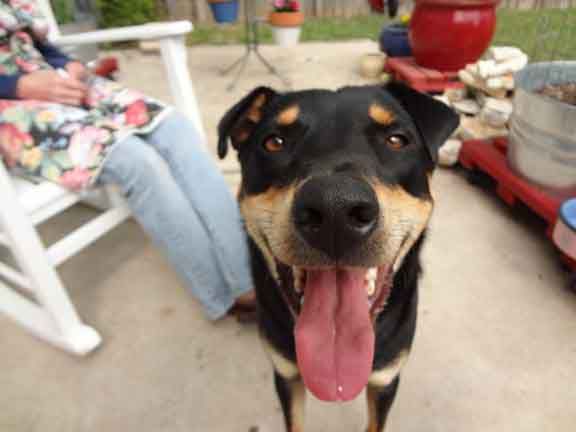
Nose...
So there it is another installment of my insane mission to turn my yard into a food factory. Tune in next week as our hero finally finishes the fence and, gasp!, we actually get to see the bee hive!
Cheers!
Remember, Green is Good!
1 comment:
Are you a mind reader? First, stevia, now how to put posts in the ground. :) I needed to look this up, as I am doing this over the summer, too. I, however, am putting the posts in along a garden walk and will have baskets on each post.
You do nice work. I doubt if mine will look so good.
Love the happy dog pic. And also your description of how you are turning your yard into a "food factory."
I look forward to your other posts; they have helped me a great deal.
Cher
(NJCher)
Post a Comment