Okay, I here is my most ambitious project to date. I had to call up some skills I hadn't used in a very long time. Plus some others, I had to make up along the way.
Composting, what is it? It's hiring slave labor to create rich earth. The labor is provided by worms. They eat our scraps and poop out gold! Um...brown, ah gold.
Here is the finished project:

Okay, what is involved in this little piece of urban insanity? If you never have welded before or have never used a cutting torch. I suggest you do a little reading up on it and if you can, get a friend who does know how to show you the basics. It will save you time, money and maybe your life. Always wear your welding goggles. I can't stress that enough. Your eyes are important and you don't want to fry them out of your head.
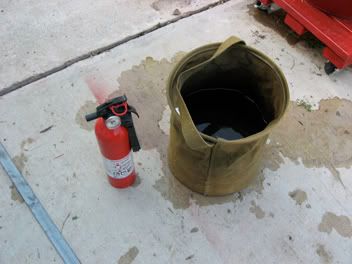
Make sure you have these handy as well:
Yes, there is water in that bucket. If you live in a very dry area like I do, you want to make sure you don't become the talk of the neighborhood by starting a forest fire.
That's said, let's get to it!
First the boring stuff. Making the crib or base.
I had some scrap 2x4's laying around from old projects.
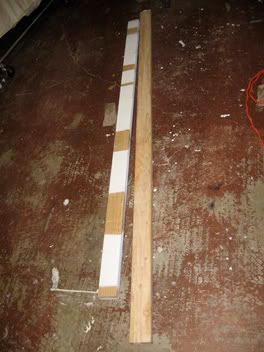
My wife always asks me, "do we need this stuff? It's taking up space!" And I always respond, "yes, I do and it will save us a little money as well". At first she looked at me like I was crazy, well she always does that, but this time, was different. No not really, it was the same crazy look.
So I cut my pieces to length. They are the length of the barrel plus 1 foot. Giving my 6" of additional space on each side. Why so much? I wanted a wider base, because when the composter is full, it will be very heavy and I wanted to spread the damage out as much as possible.
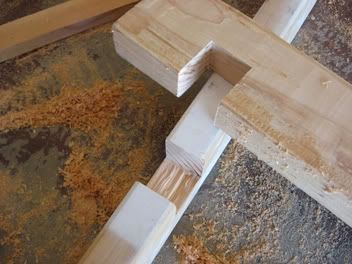
My next task was to cut in the notches.
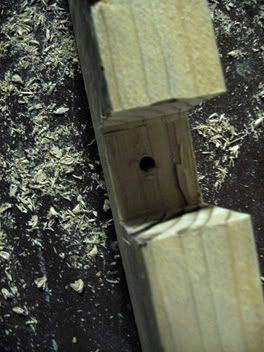
Since the barrel is of an odd length, plus the additional 1 foot. I had to do a little math to have the notches evenly spaced.
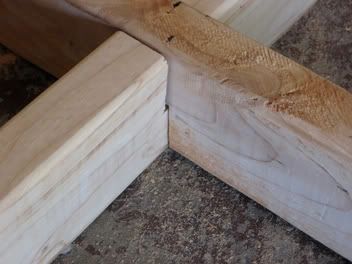
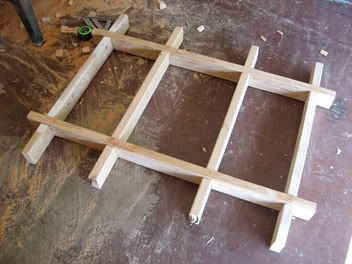
This is all assembled:
Next, I wanted to bolt it together to make sure it didn't fall apart.
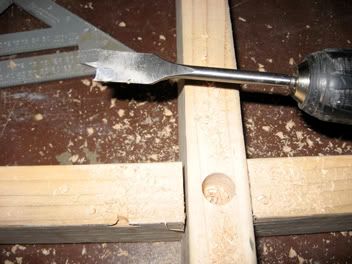
I got my center points at each cross section, made a mark and drilled with a 1" wide butterfly bit.
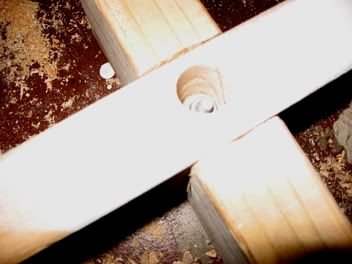
This was done on both sides. I then drilled a 1/4" hole for the bolt.
Here's one completed cross section:
I did this at each cross section. You need a lot of patience and time.
Next I put in the rails on which the little rubber wheels will sit.
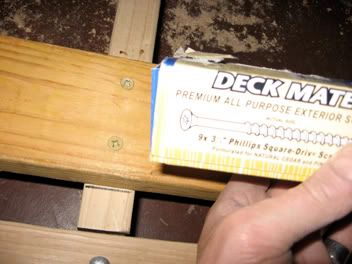
As you can see I used 3" deck mate screws. Also the bolts are galvanized. This is going to be out doors, remember?
With the rails in place, the wheels come next.
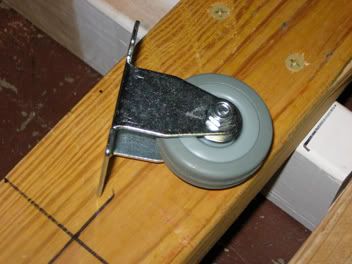
Rubber caster wheels, made in the good old US of A. Got them from Northerntool for $2.95 a piece. Probably the most expensive part of this project. Well, maybe not.
You can see by the black cross mark. that is my setting for the wheel.
Here are all the wheels in place.
Time to take it for a test spin.

It's amazing when assembling something like this that I just pulled out of my...off the top of my head and it works the first time!
I highly suggest being really anal about the setting of the wheels. I was lucky, plus I gave myself a little wiggle room for adjustment. All the wheels hit the barrel exactly.
Here's a close up of the wheels in action:
Okay, the base is completed. Now onto the part that has FIRE. heh heh heh.
The barrel.
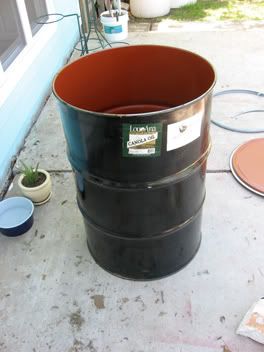
This is a food grade barrel that I picked up from a local farmers market. This guy was selling them for god knows what, but claimed they were good for rain barrels. Right, whatever. But for $20 bucks, he was the man!
But first there was a little problem.
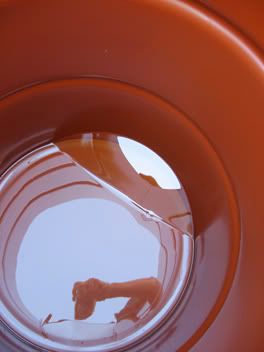
Canola oil. Still about a gallon left in the barrel. (note the garden ghost).
So I quickly rigged up a container with a funnel and poured it in.
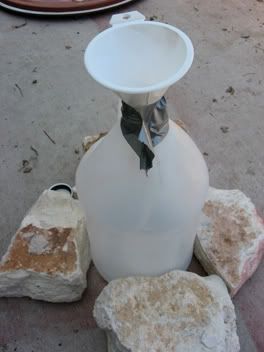
I know, it's not pretty but it worked. I wiped out the remains with paper towels and the barrel was now ready.
Sadly, I don't have any photos of me welding, since I was by myself doing this, but I got some really keen road warrior type welding goggles that compliments my bald head, thank you very much!
At this point I would suggest having a couple of bandana's handy. One for your head and one as a bank robber type face mask. Things tend to spark and fly.
Here is my gear:
This little rig cost me 50 bucks. A minor investment but something I will be using many more times in the future.
Along with this deal, I suggest, some heavy leather gloves and a rod holder. We are talking a very very very hot flame.
Also, have more welding rods handy nearby than you think you will need and definitely more oxygen as you will burn through it faster than the fuel.
So with flame lit I got down to work. Here's a close up of the first cut:
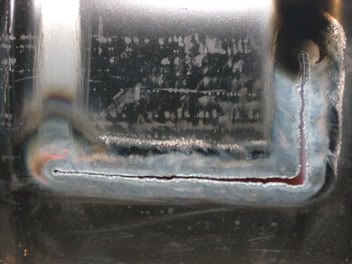
Okay, I know, it looks like a blind monkey cut this, but give me a break, I haven't cut or welded in about 27 years since my dad gave me the basics.
Here's the opening:
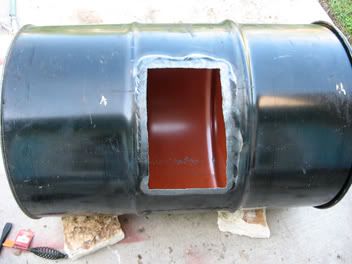
Next I had to make the hatch. I took the piece I just cut out and added some steel "wings" and this little dealy:
what the heck is that??
It's this:
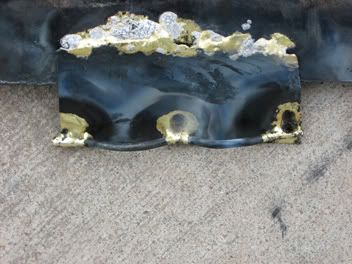
Okay, I ask again, what the heck is that?
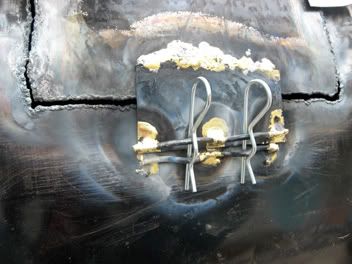
Well, yes, it's a bad photo, but I tacked it on to one of the "wings" and it will become the latch for the composter. Here's the finished product:
You can see I put two of those swiggly things on the latch and on the barrel itself and ran cotter pins through them.
Here is a picture of those "wings" I keep mentioning:

(note the ghost toes)
I needed to hinge this cover on:

Drilled some holes. Short bolts with a bunch of lock nuts later and I have a working hinge.
Here is the final project with the working hatch on the rollers, all painted and ready for use.

I later added 6 handled placed at thirds around the barrel to aid in spinning it.
What would I do different in the future? come up with a better latch design. Although this one works find, if the cotter pins aren't latched properly, there are serious consequences.
Final cost: 50 for the welding, 20 for the barrel, 30 for the wheels and another 30 for bolts, hinge, extra oxygen and goggles.
For a total of, roughly, 130 bucks. Not cheap, but certainly cheaper and much longer lasting than comparable volume composters out there. The cheapest I found at this 55 gallon range was 230. So I was 100 bucks ahead.
Difficulty: about an 7. You need basic wood skills and medium welding skills.
The only moving part is the wheels and the hatch. Everything is easily repairable.
Next up on my train of green insanity. A basic drip watering system from rain barrels.
Remember: Green is good!
